画像モデル「Krea 2」のTurboがオープンウェイトとして公開され、2026年6月24日にComfyUIがネイティブ対応しました。
今回はRAWとTurboの違いを整理し、ComfyUIでTurboのモデルを配置して画像生成する手順と、参照画像の画風を使う方法を紹介します。
Krea 2 Turboとは?
Krea 2 Turboは、Krea AIが独自に開発した画像生成モデル「Krea 2」を、8ステップで生成できるように蒸留したモデルです。
Krea.aiは画像・動画・3Dの生成などが行えるプラットフォームで、その中で自社開発モデル「Krea 2」を含むNano Banana、Fluxなどのモデルを提供しています。
ローカルで使えるモデルの重みは、ベースモデルのRAWと高速生成用のTurboの2種類です。
写真やイラストなど、多様な画風での画像生成を目的としています。
2026年6月23日にMagnetリンク経由で公開され、その後ComfyUIがネイティブ対応しました。
MagnetリンクはTorrentクライアントなどを使ってダウンロードするものなので、直接使用する場合は少し手間がかかります。
なので基本はComfyUIや他の方がHugging Faceで公開しているものの方が扱いやすいと思います。
主な特徴
- 文章から画像を生成するKrea独自のモデル
- Turboは8ステップの画像生成に対応
- RAWで学習したLoRAをTurboにも適用できる
RAWとTurboの違い・どちらを使う?
RAWは蒸留していないベースモデル、Turboは少ないステップで生成できるようにしたモデルです。
Krea公式は、通常の画像生成にはTurbo、LoRA学習やファインチューニングにはRAWを推奨しています。
| 比較項目 | RAW | Turbo |
|---|---|---|
| モデルの位置付け | 蒸留前のベースモデル | 少ステップ生成向けの蒸留モデル |
| Krea公式の生成設定例 | 52ステップ・CFGあり | 8ステップ・CFGによる追加誘導なし |
| 公式が推奨する用途 | LoRA学習・ファインチューニング | 画像生成・学習済みLoRAの適用 |
RAWでも画像生成はできますが、Turbo用ワークフローのモデルだけをRAWへ替えても、公式のRAW設定にはなりません。
この記事の画像生成手順はTurboを使うものです。
LoRAを自分で学習する場合はRAWで学習し、できたLoRAをTurboでの生成に使えます。
ライセンス(商用利用の可否)
Krea 2は「Krea 2 Community License Agreement」というライセンスで公開されています。
出力物(生成した画像)について
生成した画像はあなたの所有物です。
全社合計の年間総収益が100万米ドル(約1.5億円)未満なら、商用利用しても問題ありません。
超える場合のみEnterprise Licenseが必要です。
画像にKreaのクレジット表記を入れる義務はありませんが、法令やプラットフォームの規約で求められる場合は、AIで生成したことを明示する必要があります。
モデル自体(再配布・派生モデルを作る場合)について
モデルを配布したり、派生モデルを作って公開する場合は次の条件があります。
- 全社合計の年間総収益が100万米ドル(約1.5億円)未満であること(超える場合はEnterprise Licenseが必要)
- 派生モデルはモデル名に「Krea」を冠する(例:Krea 2 [Your Model Name])うえで、ライセンス文を添付する
- 表記に「Krea 2 is licensed under the Krea 2 Community License Agreement」を含める
- コンテンツフィルターの実装やAcceptable Use Policy(利用規約)を守る
正確な条件は公式のライセンスページを確認してください。
必要なもの・動作環境
利用するのは最新の安定版ComfyUIです。
ComfyUIをまだインストールしていない方は、こちらを参考にしてみてください。


モデルファイルの入手と配置
RAWは上で書いた通りLoRA学習やファインチューニング用で使うことが多いので、今回はTurboのみ使用します。
で、Turboも複数種類があるんですが、それぞれ以下の通りです。
| モデルファイル | 簡単な説明 |
|---|---|
| krea2_turbo_bf16.safetensors | 量子化していない16ビット版。容量は大きいが、量子化による精度低下を避けられる |
| krea2_turbo_fp8_scaled.safetensors | 8ビットに量子化した版。BF16のおよそ半分のファイル容量で、公式ガイドの基本構成に採用 |
| krea2_turbo_int8_convrot.safetensors | Convrot方式で8ビット整数に量子化した版。画質と生成速度の両立を狙った形式 |
| krea2_turbo_mxfp8.safetensors | 32個の数値ごとに補正するFP8版。細かく補正して量子化誤差を抑える方式 |
| krea2_turbo_nvfp4.safetensors | 4ビットに量子化した版。この5種類ではファイル容量が最小 |
読み込めないわけじゃないようですが、MXFP8・NVFP4はRTX 50xxじゃないと高速化・省VRAM計算をほぼ活かせません。
なので私みたいなRTX 4060 Tiなどの場合は、FP8・Int8のどちらかになると思います。
Comfy Orgの紹介だと、Int8 Convrot版はFP8より高品質かつ多くのGPUで高速に生成できると説明されているため、こちらの方がいいかもしれません。
この記事ではFP8とInt8 Convrot両方試してみます。
使いたいモデルをダウンロードして以下のパスに置いてください。
ComfyUI/models/diffusion_modelsTE・VAEはどのdiffusion_modelsでも共通で使えます。
| 種類 | ファイル名 | 配置先 |
|---|---|---|
| テキストエンコーダー | qwen3vl_4b_fp8_scaled.safetensors | ComfyUI/models/text_encoders/ |
| VAE | qwen_image_vae.safetensors | ComfyUI/models/vae/ |
Style LoRA(任意)
Turbo LoRAはベースモデルの高速化用なので、Turboモデルなら不要です。
それ以外の10種類は画風を変えるためのもの。
krea2_style_referenceは参照画像のスタイルを適用するもので、それ以外はLoRAごとにスタイルが異なります。
| LoRA | スタイル(トリガー語) | 推奨強度 |
|---|---|---|
| krea2_darkbrush.safetensors | monochrome ink wash style | 1.0 |
| krea2_dotmatrix.safetensors | monochrome stippling style | 1.0 |
| krea2_kidsdrawing.safetensors | naive expressive sketch style | 1.0 |
| krea2_neondrip.safetensors | textured abstract style | 1.0 |
| krea2_rainywindow.safetensors | rainy window style | 1.0 |
| krea2_retroanime.safetensors | purple retro anime style | 1.0 |
| krea2_softwatercolor.safetensors | art deco watercolor style | 1.0 |
| krea2_sunsetblur.safetensors | ethereal motion blur style | 1.0 |
| krea2_vintagetarot.safetensors | vintage tarot style | 1.0 |
| krea2_style_reference.safetensors | 参照画像のスタイル転送 |
使用したいものがあればダウンロードして以下のパスに置いてください。
ComfyUI\models\lorasワークフローの読み込み
ComfyUIを起動して左上メニュー→Browse Templatesから使いたいものを選んでください。
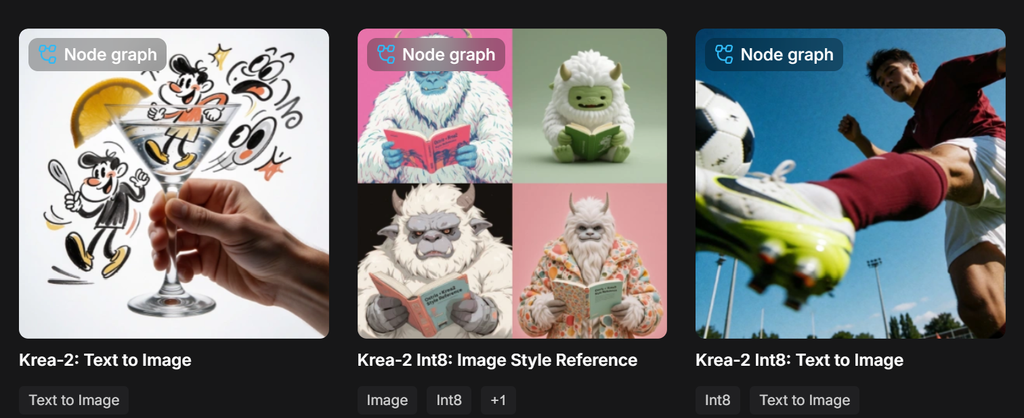
- Krea-2: Text to Image →FP8モデルで画像生成
- Krea-2 Int8: Text to Image→Int8モデルで画像生成
- Krea-2 Int8: Image Style Reference→krea2_style_referenceを使う用
Image Style Referenceだけ参照画像用のLoad Imageが付いていますが、残りの2つはほぼ同じです。
モデルを切り替えればいいだけなのでFP8とInt8については両方Krea-2: Text to Imageで進めます。
Krea-2: Text to Imageの使い方
・モデルのセット
まずText to Image (Krea-2 Turbo)で、モデルをセットします。

- Load Diffusion Model:krea2_turbo_fp8_scaled.safetensors or krea2_turbo_int8_convrot.safetensors
- Load CLIP:qwen3vl_4b_fp8_scaled.safetensors
- Load VAE:qwen_image_vae.safetensors
・LoRA
LoRAを使う場合はenable_loraをtrueにして、lora_nameから使用するLoRAを選択してください。
現在の9種類は公式推奨強度1.0を設定します。

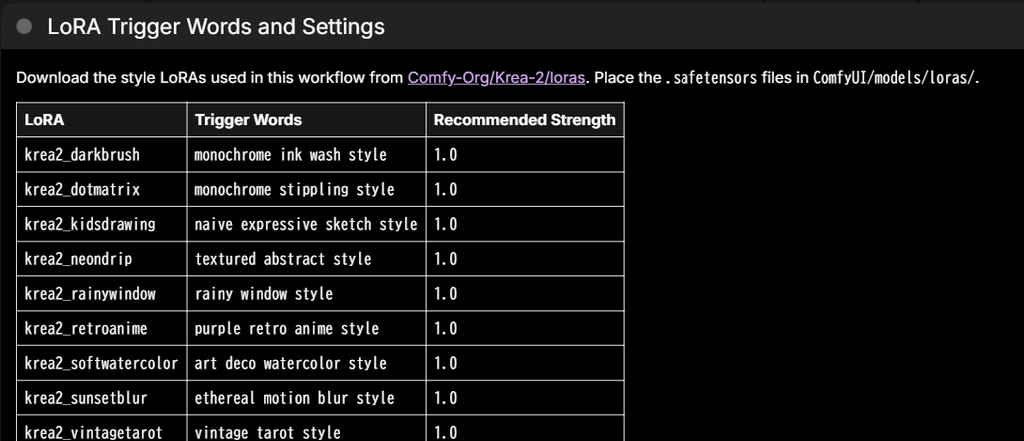
下の入力欄にトリガーワードを指定します。
トリガーワードはworkflowにある「LoRA Trigger Words and Settings」で確認してください。
・Prompt入力
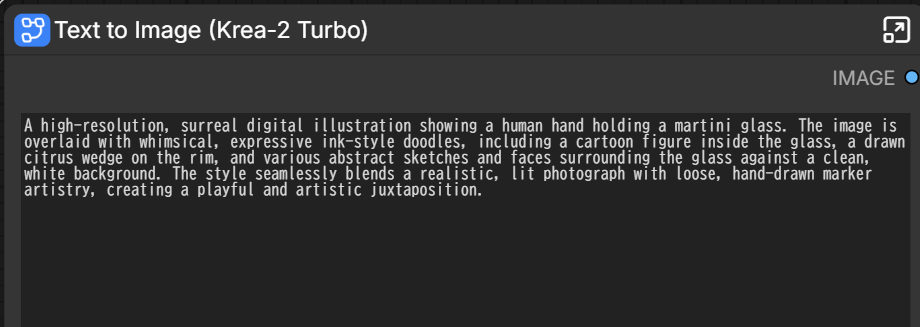
生成したいPromptを上部に入力します。
・prompt_enhance
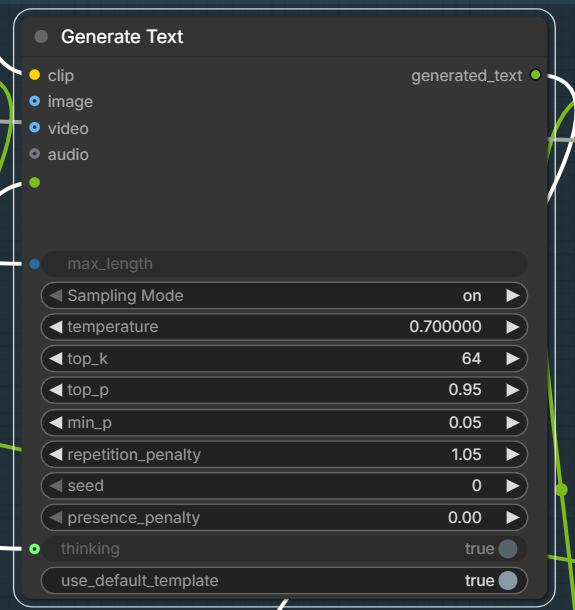
prompt_enhanceは元のPromptをLLMで拡張できるものです。
prompt_enhanceをONにすれば使えます。
またKrea 2の場合は、LLM_thinking_modeをONにして使ってください。
LLM_thinking_modeがOFFだと出力異常が起きると報告があります。

あともし同じPromptでLLMの推論結果だけ変えたい場合はサブグラフ内にあるGenerate Textのseed値を変えてください。
同じだとLLMの推論は走らず、拡張後の出力は同じになります。
・Resolution Selector
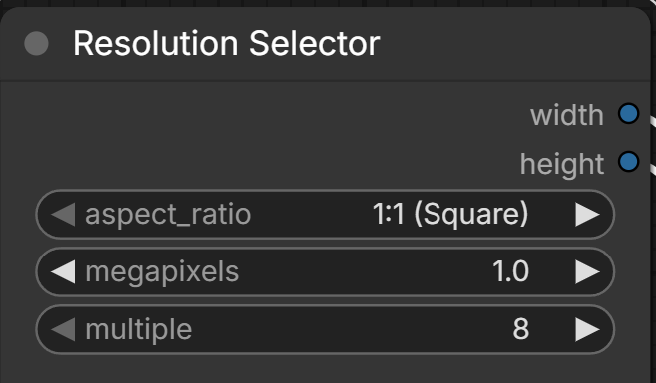
Resolution Selectorでアスペクト比の変更ができます。
生成結果
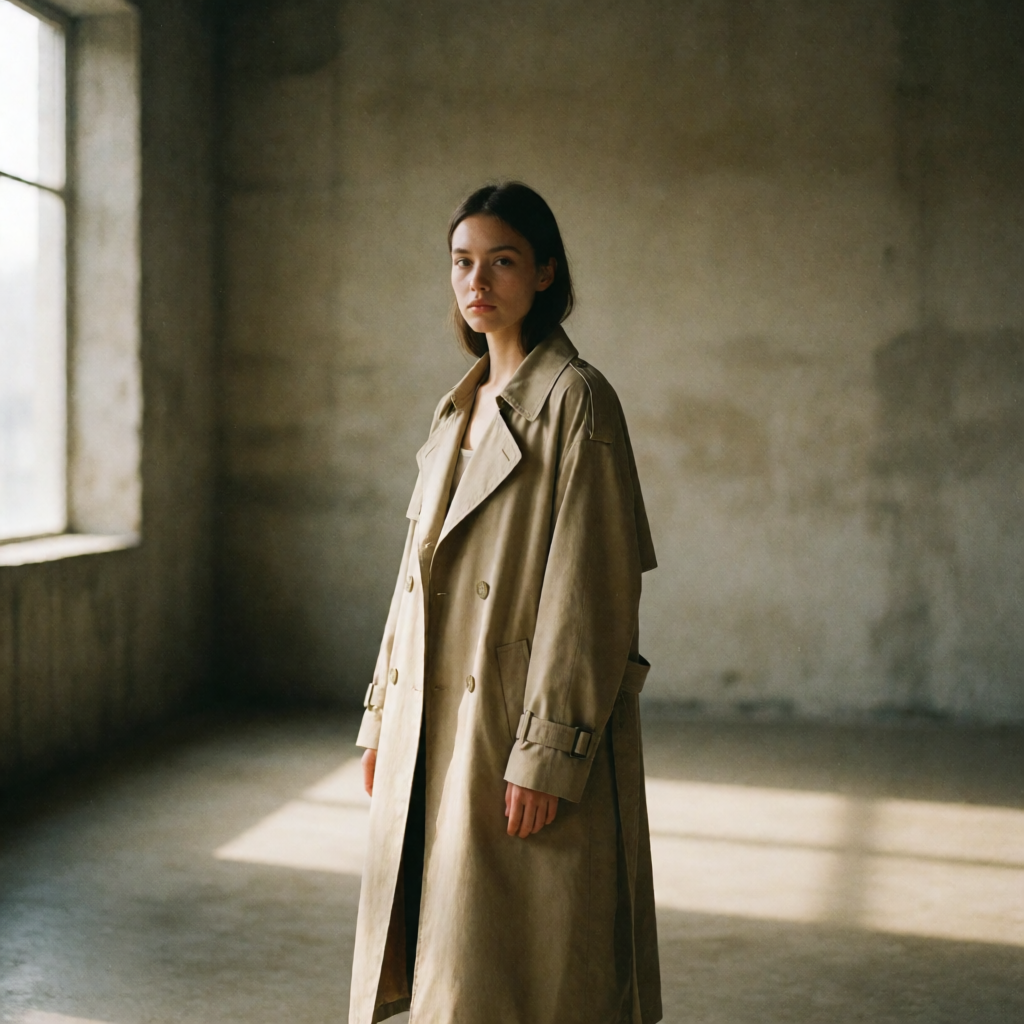
FP8モデルで19秒。
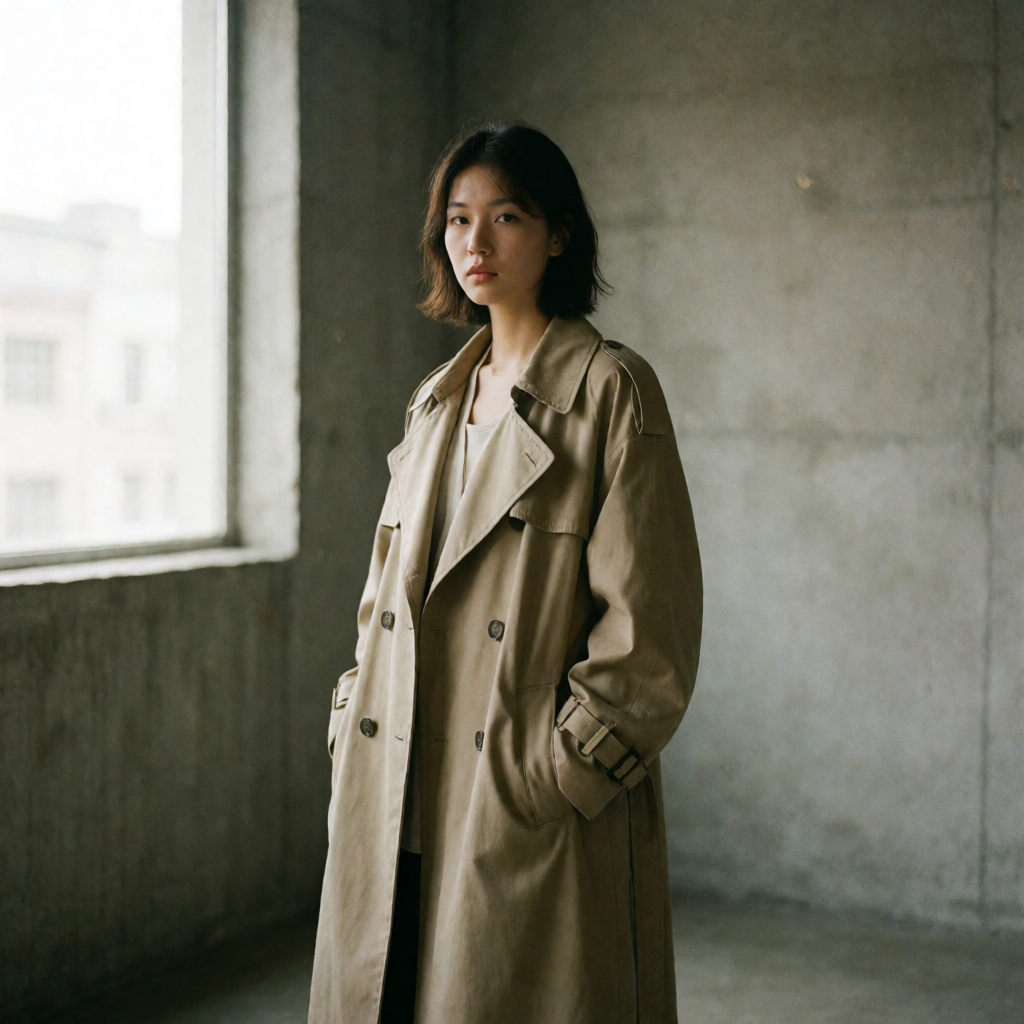
minimalist concrete room, 85mm lens, shallow depth of field, muted earth tones, film grain
FP8モデル、prompt_enhance・LLM_thinking_modeありで32秒。
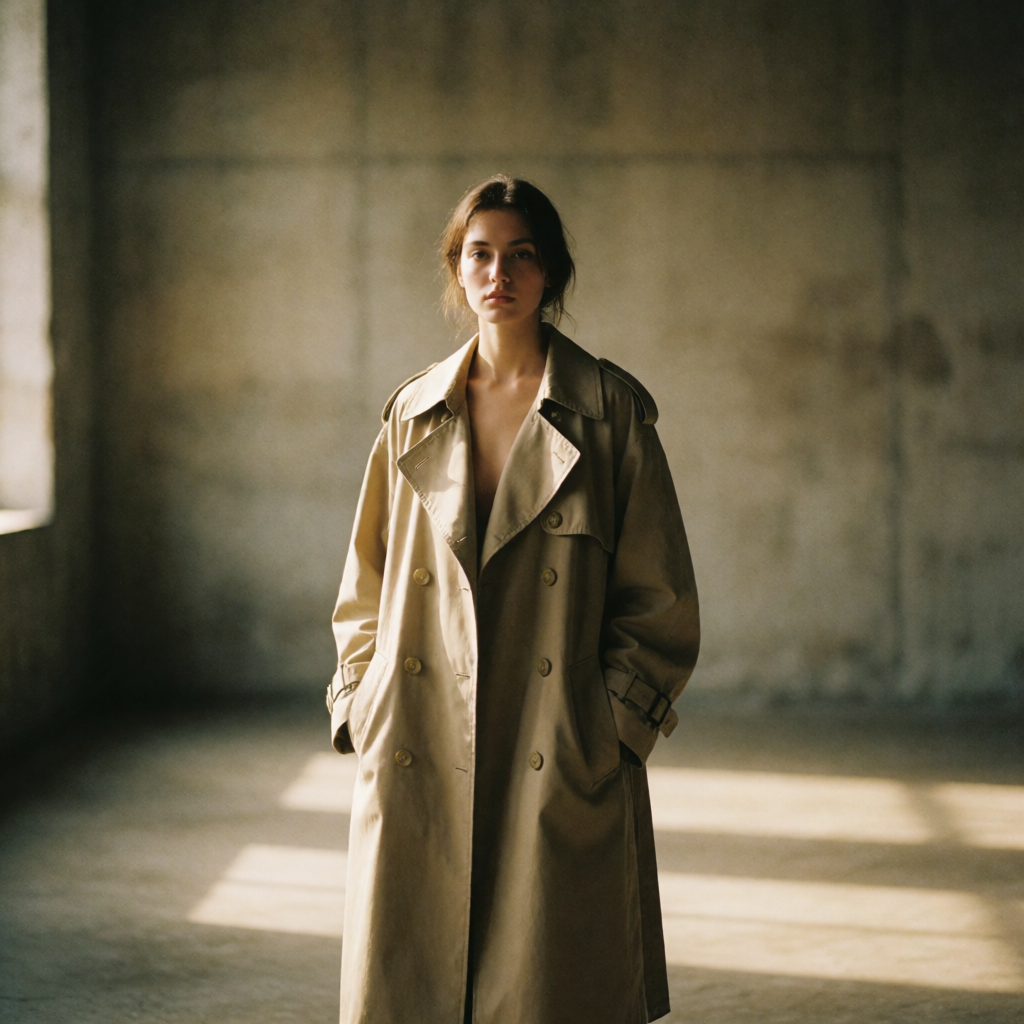
Int8モデルで13秒。
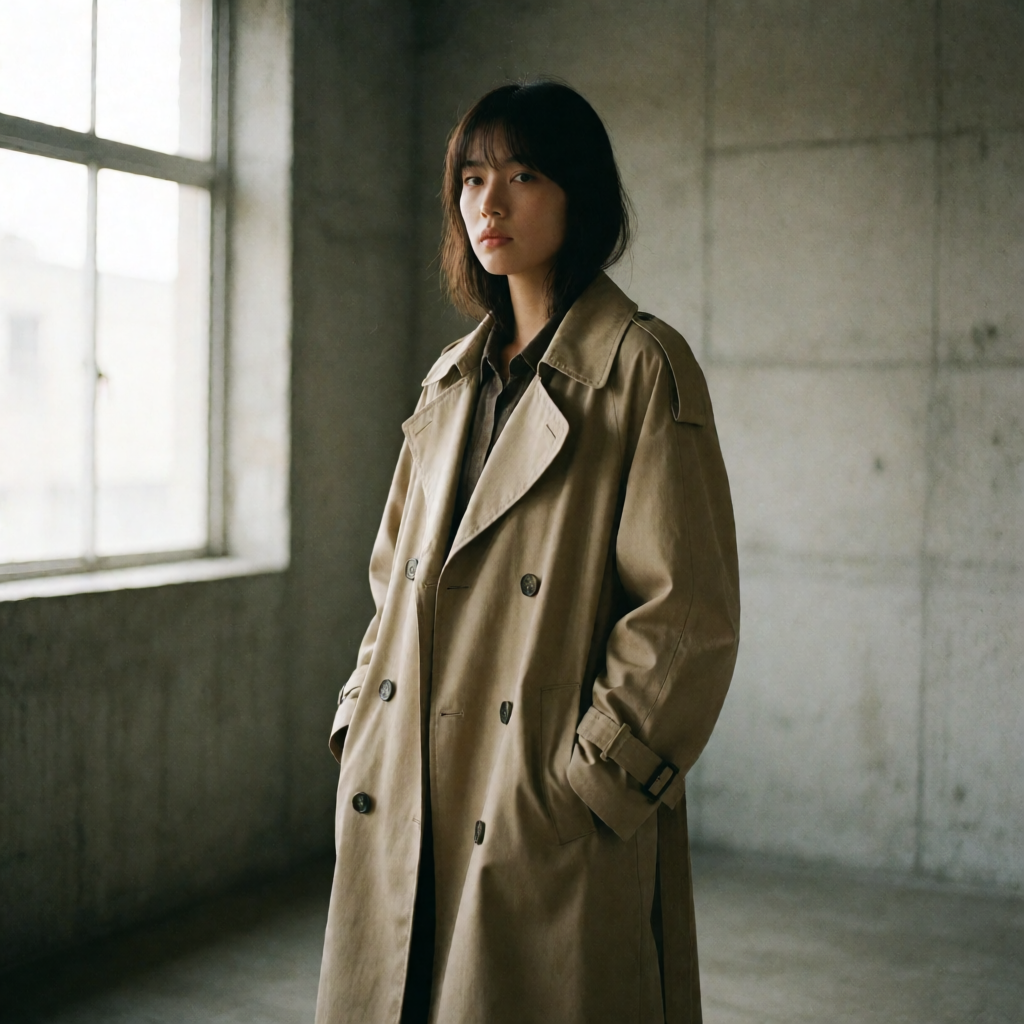
minimalist concrete room, 85mm lens, shallow depth of field, muted earth tones, film grain
Int8モデル、prompt_enhance・LLM_thinking_modeありで22秒。
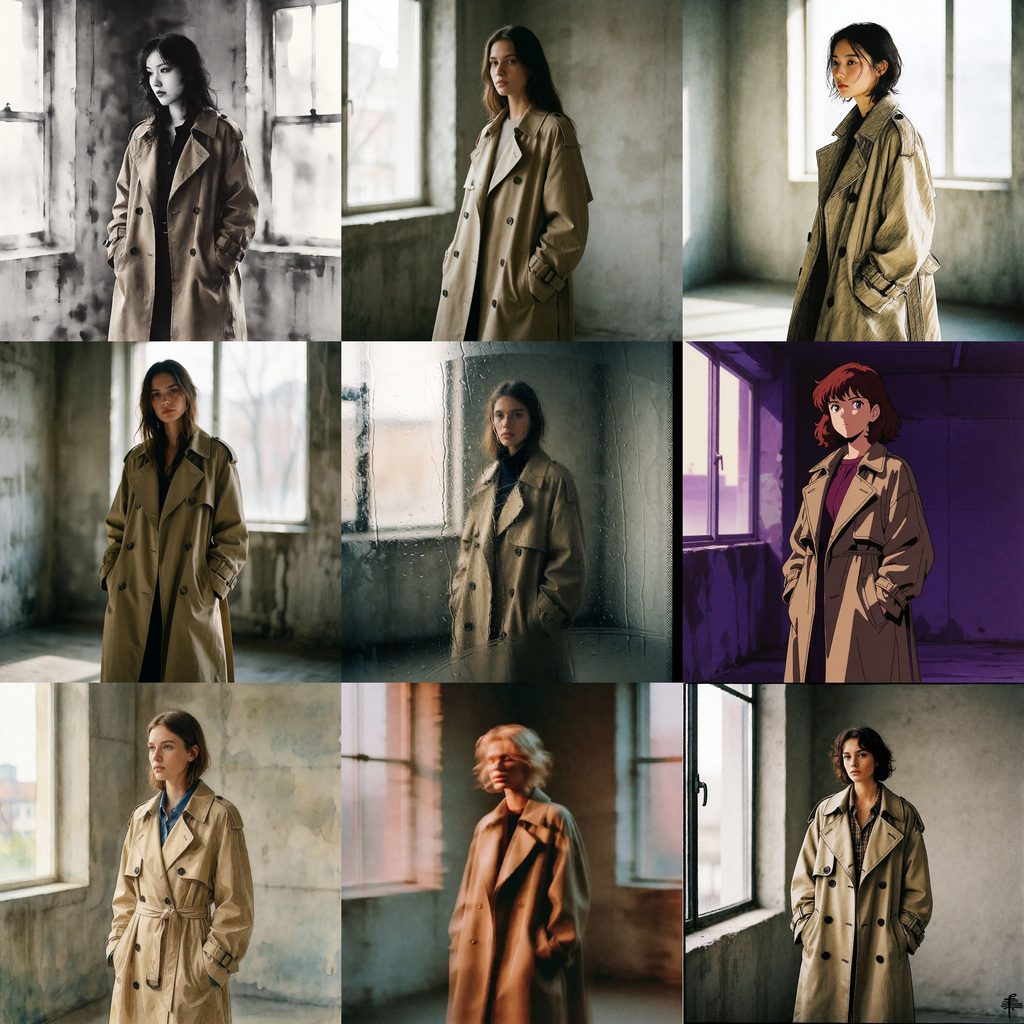
上記のと同じプロンプトで、それぞれLoRAを適用してみました。
左上から右下に向かって以下の順で生成したものです。
- krea2_darkbrush
- krea2_dotmatrix
- krea2_kidsdrawing
- krea2_neondrip
- krea2_rainywindow
- krea2_retroanime
- krea2_softwatercolor
- krea2_sunsetblur
- krea2_vintagetarot
Krea-2 Int8: Image Style Referenceの使い方
参照画像の画風を写して生成する「Krea-2 Int8: Image Style Reference」が使えるworkflowです。
Ostris氏が公開したStyle Reference用のLoRAで、入力画像の画風を生成に反映する仕組み。
Promptには、参照画像の画風で描きたい内容を入力してください。
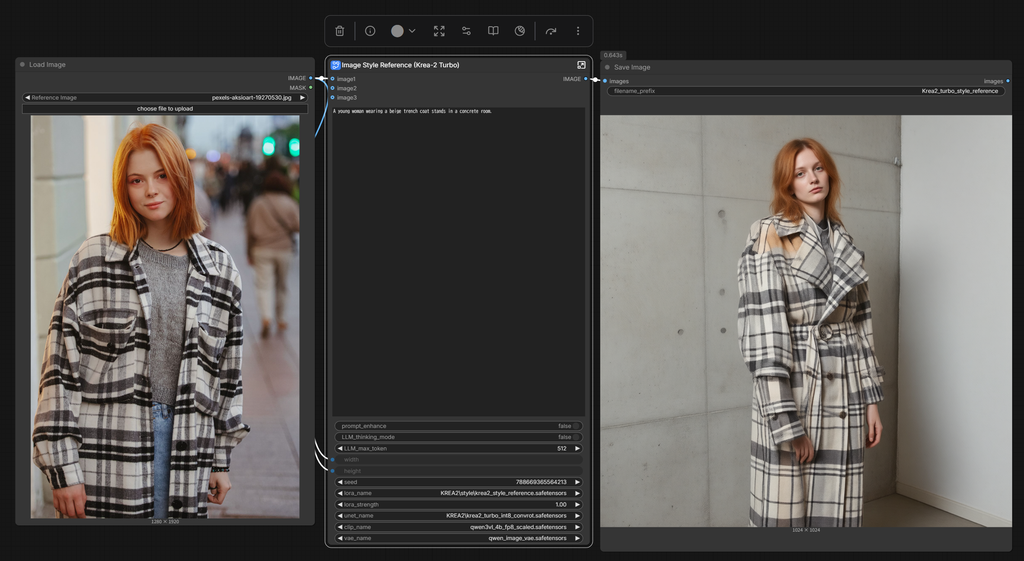
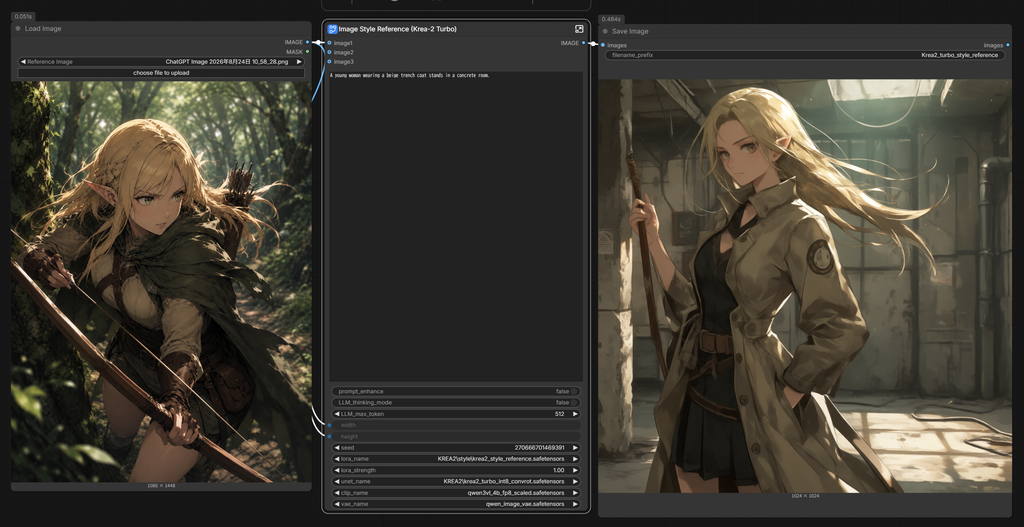
ただ参照画像がanime、プロンプトがrealなものだとstyleが競合して反映されないことがあります。
実際に参照画像がanimeで、上記で指定してたeditorial fashion photo、85mm lens、film grainみたいな入力があるとうまく反映されませんでした。
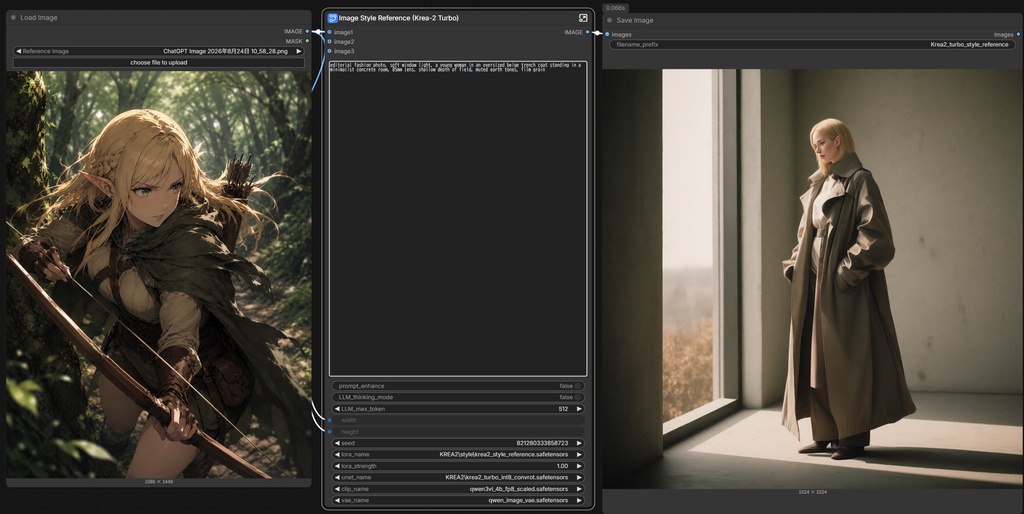
なので参照画像からstyle適用する場合は競合するような指示は除外したほうがいいかもです。
プロンプトの書き方
一般的なプロンプトについてはKrea公式のドキュメントに書き方が載っています。
上記サンプルはこれをAIに渡して出力してもらいました。
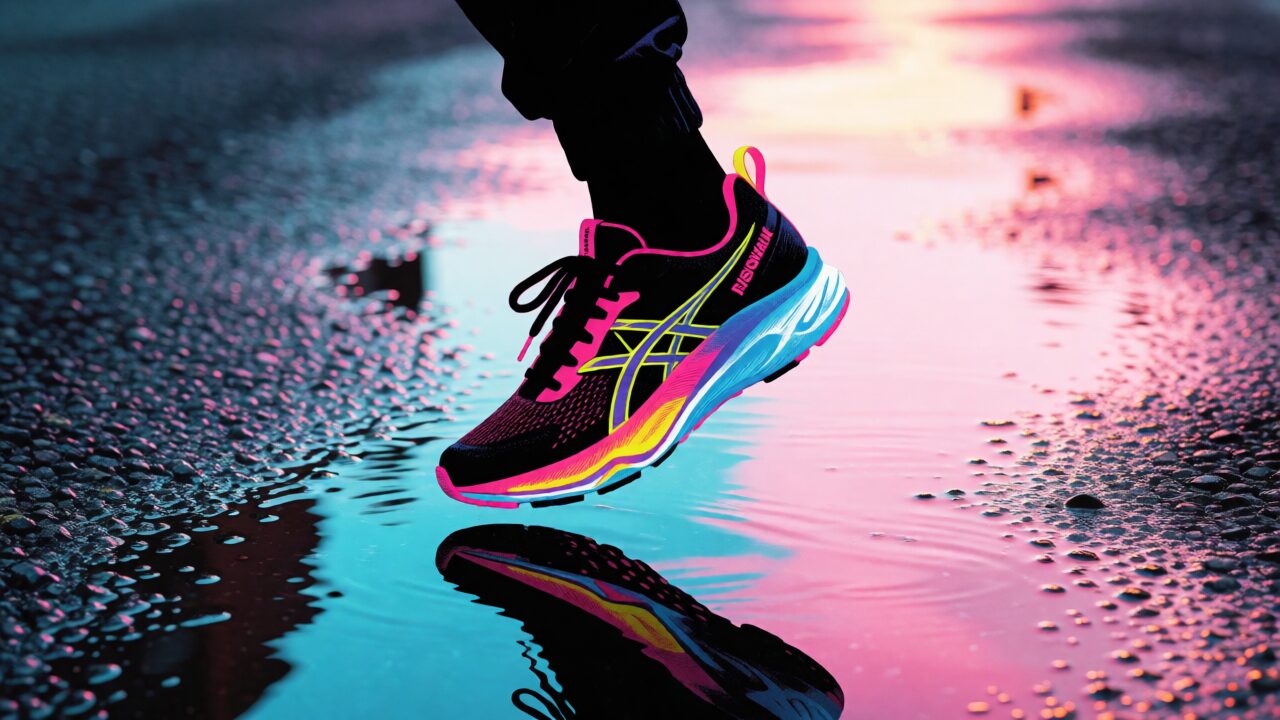
- 主題を具体的に書く(例:「ネオンのランニングシューズのストリートウェア風ポスター」のように、何を描きたいかをはっきり指定する)
- スタイルを表す語は早めに入れる(例:「risograph print, limited palette, bold silhouette」のように、画風の指定をプロンプトの前の方に置く)
- まずバッチで複数枚出して見比べ、良い方向性を見つけてから細部を詰める

あとRedditでキャラクターと服装を理解する能力がすごいと話題になっていたので試してみました。
ヨーコの服が別物、炎柄がナミについている、ゾロの刀がないなど細かいズレはありますが、LoRAなしでもかなり再現性は高いようです。
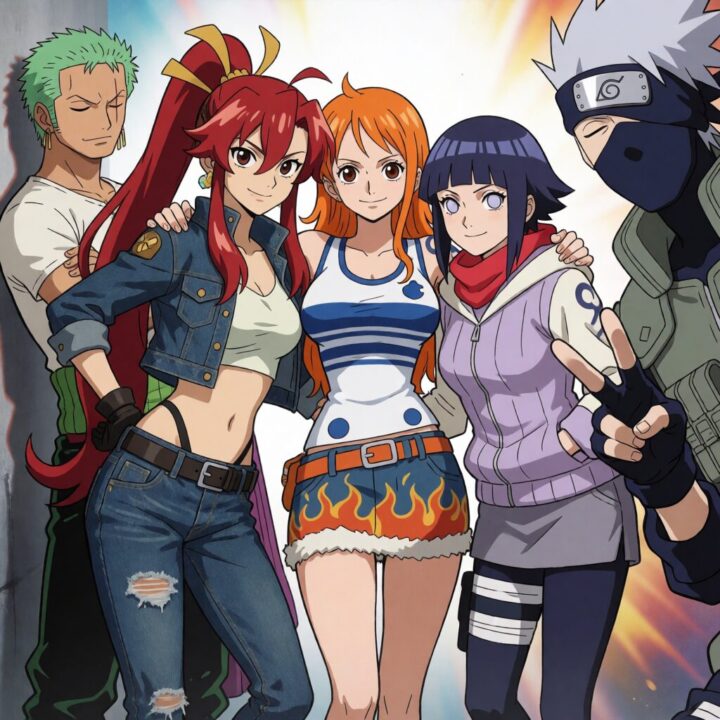
Yoko Littner is a Spanish woman wearing a black flame-printed bikini top and very short blue denim shorts, worn with a white skull-buckle belt, a single black thigh-high stocking, brown fingerless gloves, and a long red scarf draped across her shoulders. She is posing with Swedish girl Nami with warm brown eyes wearing her orange bikini top and tight low-rise blue jeans next to Japanese girl Hinata Hyuga wearing a lavender and cream hooded jacket with navy capri pants.
Yoko on the left, Nami in the middle, Hinata on the right.
On the far left, Roronoa Zoro is leaning against the wall with three katana at his hip, arms crossed.
On the far right, Kakashi Hatake’s masked head is peeking into the frame with his hand making a peace sign.

なので公式のガイド通りじゃなく自由に書いてもある程度再現できるかもしれません。
まとめ
モデルサイズもFP8なら平均的だし、生成速度も速く再現性が高いので、扱いやすいモデルに感じました。
2D・3D両方生成できるし、LoRAを使えばさらに幅広い画像が生成できそうです。
AI ToolkitやMusubi Tunerで既にLoRA trainingもサポートされているようなので、興味ある方は試してみてください。
musubi-tuner/docs/krea2.md at main · kohya-ss/musubi-tuner
以上Krea 2 Turboの使い方を紹介しました。
参考になれば幸いです。